Adding on-call schedules as context for the AI Assistant
Have you ever been in the hot seat during a security incident, and needing to quickly find out who's on-call for a specific task, and how to contact them?
While many tools today handle contacting the right person based on a defined on-call schedule, it's still helpful to know this information yourself - and if we're simply able to ask for it in natural language, in the same place we're handling an incident - wouldn't that make our lives easier?
In this post, we'll walk through an example of how to easily set this up using the AI Assistant in Elastic Security.
Step 1 - Enable the AI knowledge base (if not already enabled)
This step is only necessary if your knowledge base for the AI Assistant is not currently enabled. This only needs to be done once per Kibana space. You'll also want to ensure your user has the necessary permissions to make these changes.
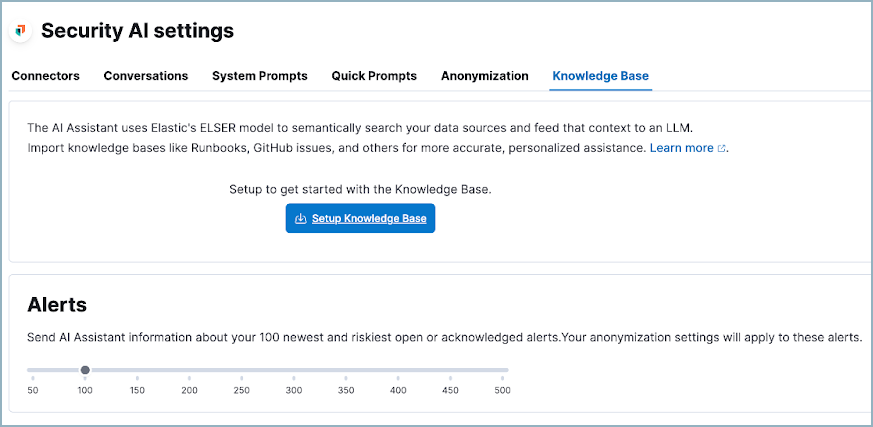
- To open Security AI settings, use the global search field to find "AI Assistant for Security."
- On the Knowledge Base tab, click Setup Knowledge Base. If the button doesn’t appear, Knowledge Base is already enabled.
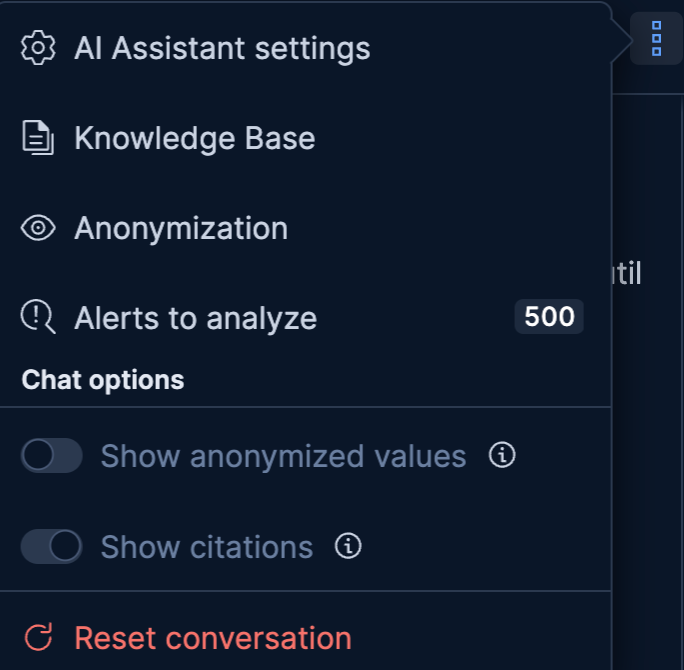
You can also get to this view from the Assistant menu.
Step 2 - Add in your on-call information as a document entry
The AI Assistant is aware of time during any conversation that you have with it. It is also aware of your timezone, based on your browser's locale. For the best results, you're going to want to add in your on-call information in UTC time.
From the "New" button, add in a document knowledge entry:

From there, give your knowledge entry a name, select if you want this entry to be available to everyone in your Kibana space (Global) or just you (Private). Enter your schedule in plain text, similar to the example I’ve included. This format is what I found to work best, but other formats will most likely work well too. Optionally add who is responsible for what (e.g. SRE, L3, etc) for the Assistant to get even more context, especially if you have a complex on-call structure. Hit the "save" button when ready.

In my case, I ticked the "Required Knowledge" setting. This will always send this information to your chosen LLM within the AI Assistant, without you having to specifically prompt for it. This is entirely optional.
Step 3 - Ask away!
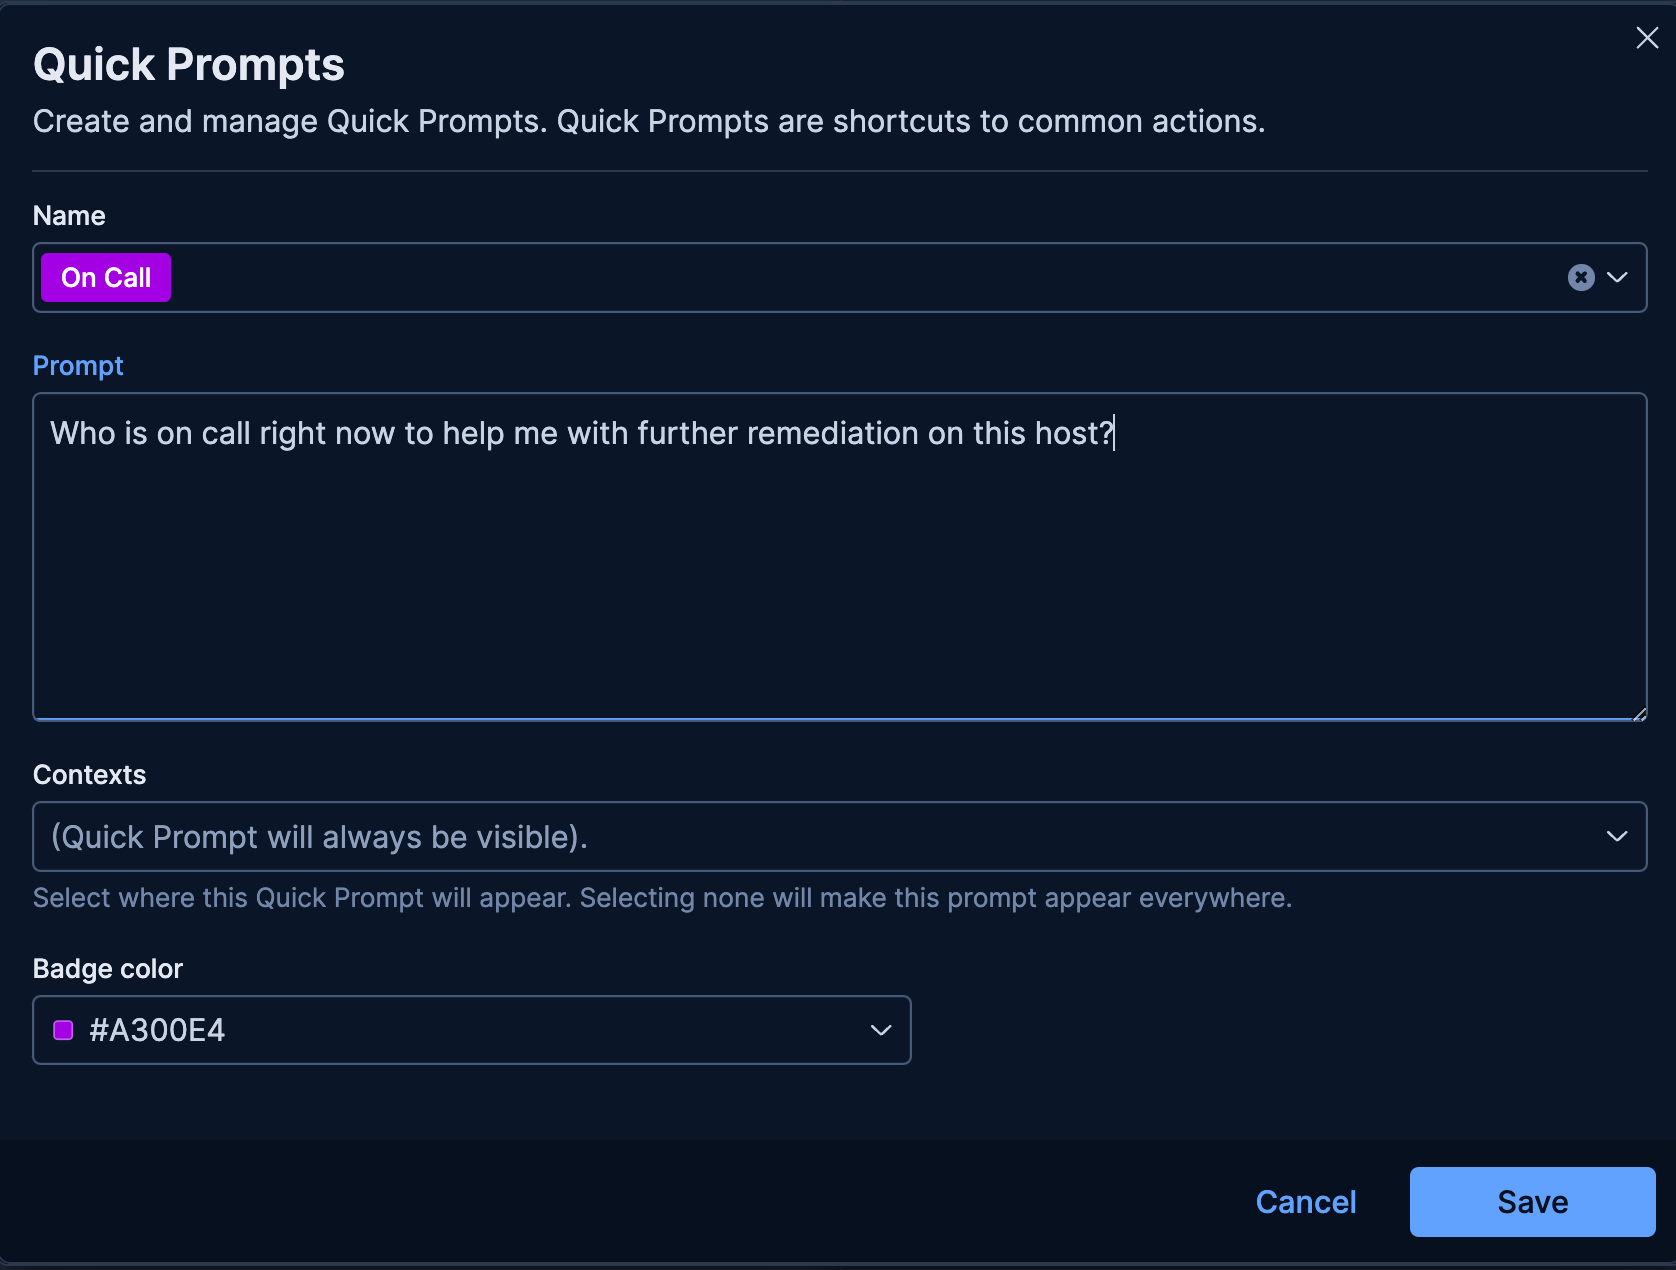
You can now ask on-call scheduled related questions to the assistant. I would personally recommend adding a quick prompt for these types of questions, to avoid having to repeatedly type the same question over and over again.

Hope you find this helpful!
James ✌🏻